A malfunctioning Printed Circuit Board (PCB) can be a frustrating sight, whether it's in a prized piece of audio equipment, a crucial industrial machine, or a child's favorite toy. Before you consider replacing the entire board or device, knowing how to systematically troubleshoot and test its components can save you time, money, and provide immense satisfaction.
This guide will walk you through a logical, step-by-step process to diagnose faults and test the most common components on a PCB.
Phase 1: The Pre-Testing Checklist (The "Detective Work")
Before you even power on your multimeter, crucial information gathering and a visual inspection can often lead you directly to the problem.
Understand the Circuit: If you have the schematic diagram, study it. Trace the power rails and understand the circuit's core function (e.g., power supply, audio amplifier, digital logic). If you don't have a schematic, see if you can find a board layout or identify major ICs and their datasheets online.
Gather the Symptoms: What exactly is the board doing (or not doing)? Is there no power at all? Is the output distorted? Does it work intermittently? Document everything.
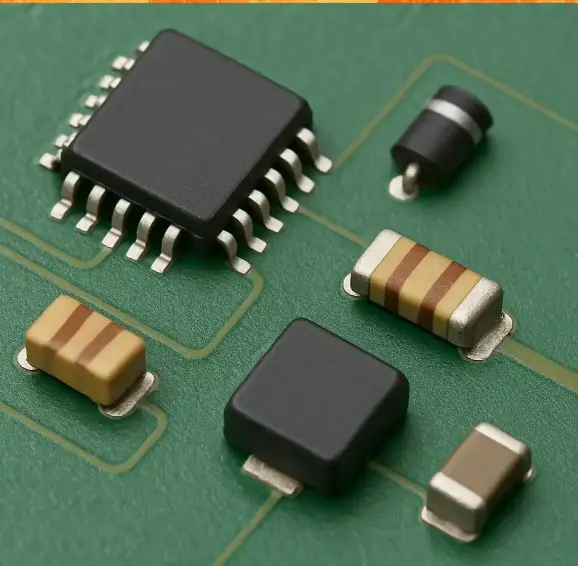
The All-Important Visual Inspection: This is your most powerful first step. Use a magnifying glass and good lighting to scrutinize the entire board.
Look for Burn Marks: Scorch marks are a clear indicator of a component that has failed catastrophically.
Check for Bulging or Leaking Capacitors: This is one of the most common failures in modern electronics. The top of a bulging capacitor may be domed upward, and you might see a brownish residue leaked from the bottom.
Inspect Soldering: Look for cold solder joints, which appear as dull, cracked, or blob-like connections, rather than smooth and shiny. Reflow any suspicious joints with a soldering iron.
Examine Traces: Look for any cracked, lifted, or corroded copper traces.
Check Physical Damage: Look for bent or broken pins on integrated circuits (ICs) or connectors.
Phase 3: Component-Level Testing (With a Multimeter)
With the board disconnected from power, you can begin testing individual components. A digital multimeter (DMM) with diode and resistance modes is essential.
Testing Resistors:
Method: Set your multimeter to the resistance (Ω) mode. Measure the resistor's value. For an accurate reading, it's best to desolder at least one leg of the resistor, as it might be in parallel with other components in-circuit.
What to Look For: The measured value should be within the tolerance band (e.g., ±5%) of the color-coded value. A reading of infinite resistance (Open Circuit) or zero resistance (Short Circuit) indicates a failed resistor. A resistor that has overheated will often have a charred appearance and its value will have drifted significantly.
Testing Capacitors:
Visual Clue First: As mentioned, bulging or leaking is a sure sign of failure.
Multimeter Method (for larger capacitors): For electrolytic capacitors above ~1µF, you can use the resistance mode. Place the probes on the correct polarity (positive to positive). You should see the resistance start low and gradually increase as the capacitor charges—this indicates it's likely healthy. A constant low resistance indicates a short; a constant infinite resistance indicates an open capacitor. For a more accurate test, a dedicated Capacitance Meter or an ESR (Equivalent Series Resistance) meter is required.
Testing Diodes and LEDs:
Method: Use the Diode Test mode on your multimeter (symbol: a diode with sound waves). Place the positive probe on the anode and the negative on the cathode. You should get a reading of 0.5V to 0.8V for a standard silicon diode. Reverse the probes; you should get "OL" or infinite resistance. An LED will light up slightly in the forward-biased direction.
What to Look For: A very low voltage reading (e.g., 0.1V) in both directions indicates a shorted diode. "OL" in both directions indicates an open diode.